Insulating glass series three--Insulating glass technology and process.
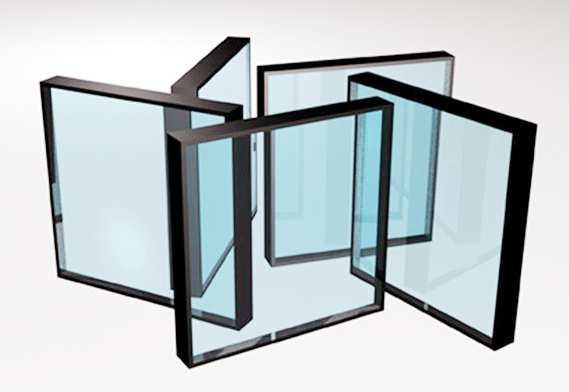
From the materials and structures of grooved aluminum insulating glass and composite strip insulating glass, it is not difficult to see the difference between the two, which also means that their processing techniques are different. This article will give you an in-depth understanding of detailed processes and key points of the two processes-- the grooved aluminum insulating glass and the composite strip-type insulating glass.
1. Processing of grooved aluminum insulating glass
Specific steps
It includes film removal and washing of the glass, fixation, and molding of the aluminum spacers, filling the molecular sieve, applying butyl extruder, bonding to one of the pieces of glass, inflating, cold pressing (joining), sealing, and drying.
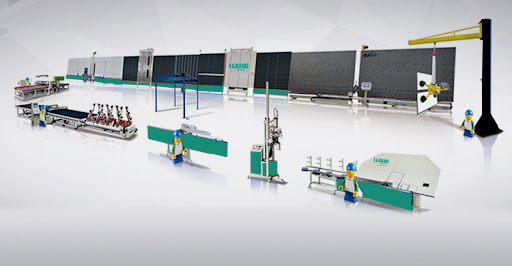
Figure 1 The slot aluminum insulating glass production line
During the glass processing and manufacturing process, not all situations require film removal. For example, when making laminated glass, film removal is usually not required. However, for the production of insulating glass, the Low-E glass film removal is a necessary step. Because a protective layer or contaminant layer may form on the glass surface, if the film is not removed, the thermal insulation and light transmittance properties of the insulating glass will be adversely affected.

Figure 2 The glass film removal
- It should be noted that coated glass and Low-E glass need to be removed when used as insulating glass, that is, the coating layer is removed.
- The width of the membrane is the total width of the insulating glass butyl extruder coating plus sealant.
- The purpose is to prevent sealing failure after the chemical reaction between the butyl extruder coating and the coating layer; to prevent the oxidation area of the coating layer from spreading toward the center of the glass after it is exposed to the air; to prevent the adhesive force of the butyl coating on the coating layer from decreasing.
1. To ensure the adhesion between the sealant and the glass, deionized water should be used for insulated washing.
2. Surface quality defects such as obvious fingerprints, fingerprints, spots, offset marks, stains, mildew marks, etc. are not allowed on the washed glass.
3. After passing the lighting inspection, quickly perform the lamination operation to prevent surface contamination.
- Aluminum spacer fixed molding
Aluminum spacers are divided into two types: bendable and non-bendable.
1. The bendable aluminum spacers are bent on the automatic frame bending machine through one-time bending of the corners. After bending, connect the opposite ends with a straight-in interface to form a continuous bending aluminum spacer.
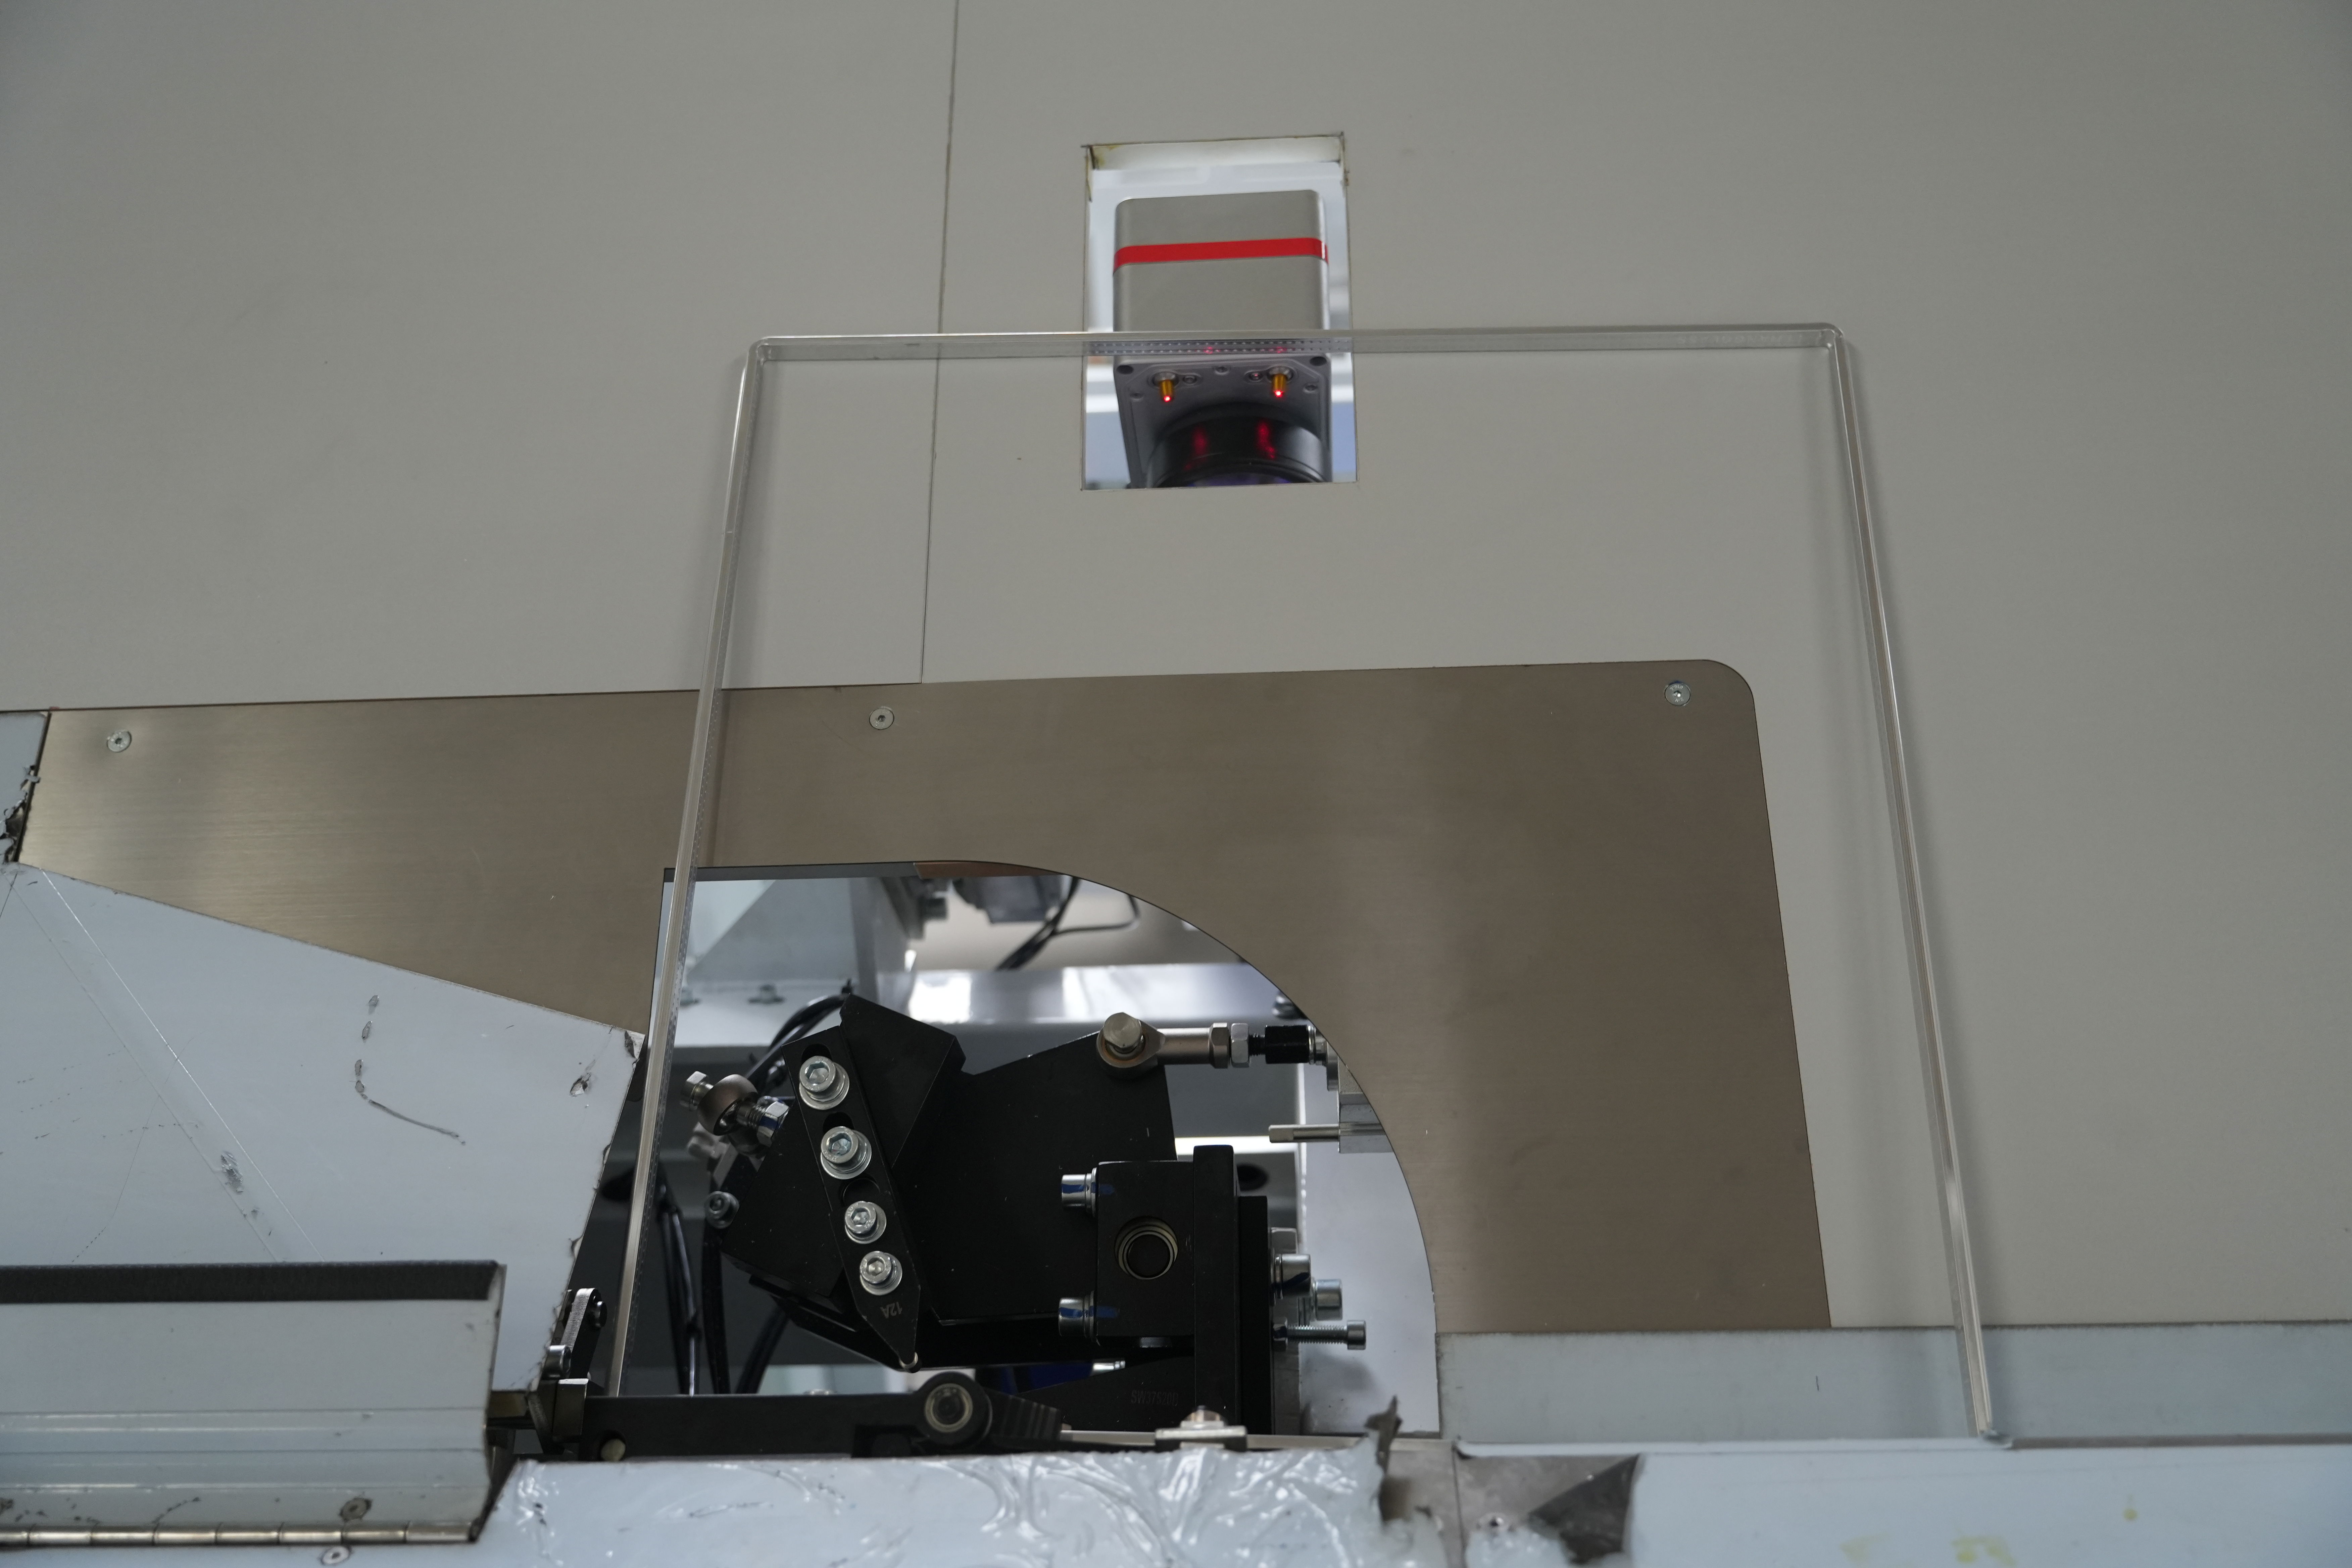
Figure 3 The bendable aluminum spacer fixed bending
2. The aluminum spacers cannot be bent, and the four single sides are connected with four corners.
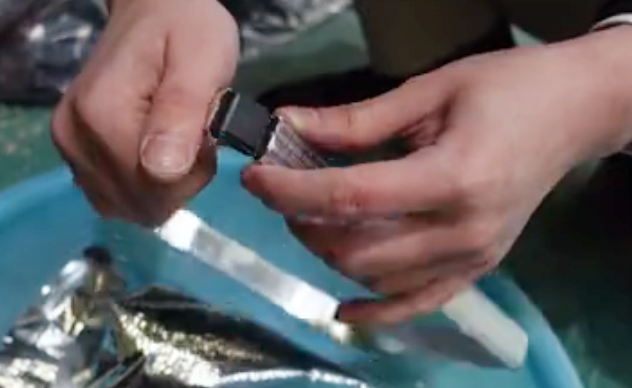
Figure 4 The four-corner angled aluminum spacer bending
Compared with the four-corner angled aluminum spacer, the continuously bent aluminum spacer not only solves the possible sealing hazards at the four corners, ensures the service life of the desiccant, but also increases the overall stability of the aluminum spacer itself.
- Two filling methods
1. Vacuum filling method
Use a vacuum pump to evacuate the inside of the insulating glass, and then pour the molecular sieve through the opening of the insulating glass until the required filling volume is reached.
This method ensures that the molecular sieve is evenly distributed inside the glass and does not remain in the gaps between aluminum spacers or sealants.
2. Pressure filling method
Molecular sieves are mixed with dry air, and the mixed gas is injected into the interior of the insulating glass through pressure. As the pressure of the gas decreases, the molecular sieve will settle evenly inside the glass.
This method is easy to operate and suitable for large-scale production.
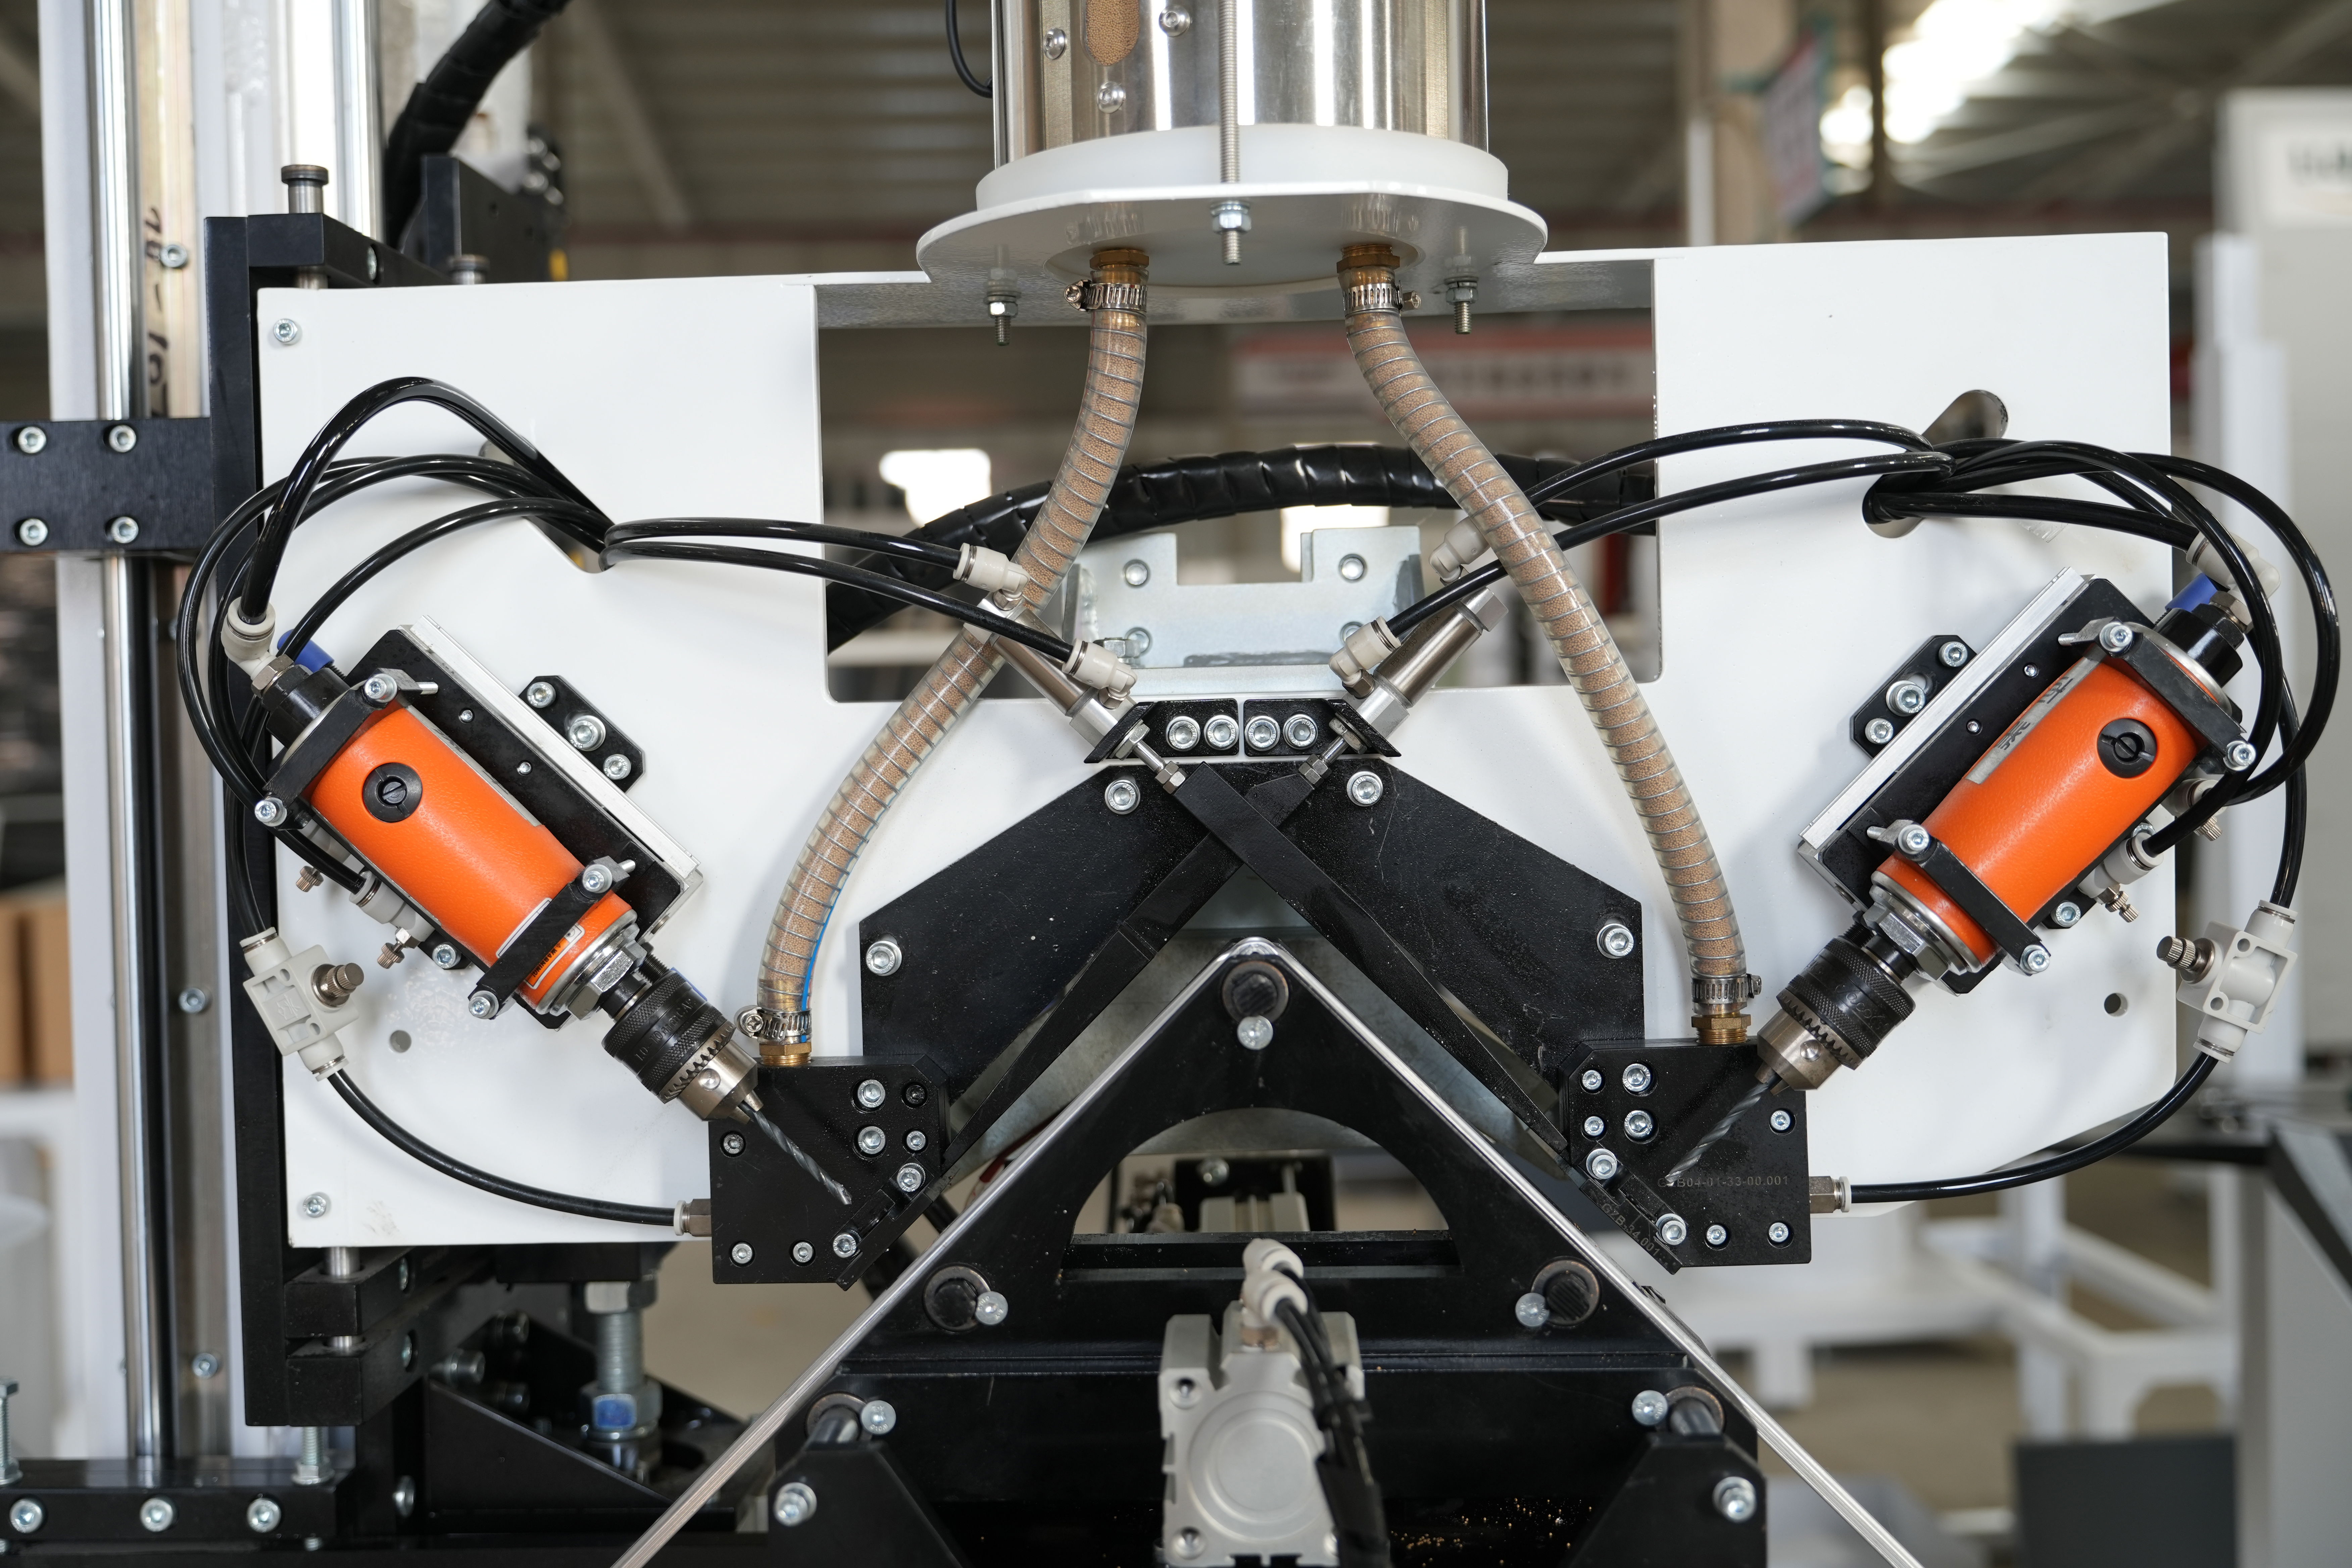
Figure 5 The insulating glass molecular sieve filling
Precautions:
1. For aluminum spacer strips above 10mm, each side should be filled with at least 50% desiccant.
2. For aluminum spacers below 10mm, at least three sides should be filled with desiccant.
3. The film must be combined within 45 minutes after filling.

Figure 6 The insulating glass spacer strips butyl extruder coating
Precautions:
1. The tape must be uniform and continuous, and the width of the butyl tape shall not be less than 3mm.
2. The molecular sieve filling holes and corner inserts must be filled with butyl extruder.
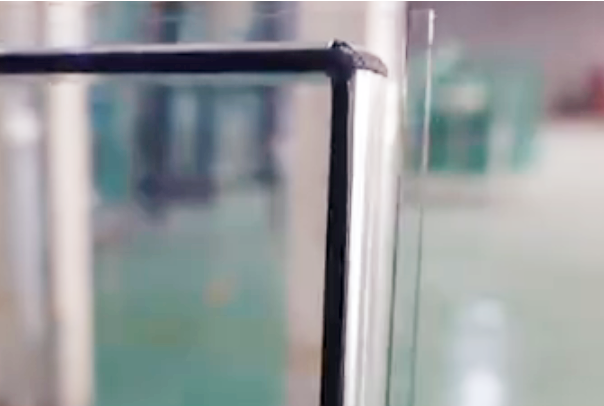
Figure 7 The insulating glass spacer strips coating effect
Inflating and pressing
Precautions
1. When inflating, the pressure and time must be controlled, and the inflation volume must not be less than 85%.

Figure 8 The insulating glass fully automatic inflatable equipment
2. Before joining the pieces, make sure there are no bubbles or impurities between the two pieces of glass.
3. When joining the pieces, control the position and angle of the two pieces of glass to avoid misalignment or tilt.
4. After the sheets are combined, there should be a distance of 5~7mm between the outer edge of the aluminum frame and the edge of the glass for applying the second layer of sealant.

Figure 9 The fully automatic coating of sealant
Precautions
1. Before sealing, a butterfly test should be performed to check the mixing uniformity of the two-component sealant and test the sealant's break-off time, which is usually 20 to 60 minutes.
2. The sealed insulating glass should be separated piece by piece and left to solidify in an upright position. The surface drying time is usually 2 to 3 hours, and the curing time is about 72 hours.
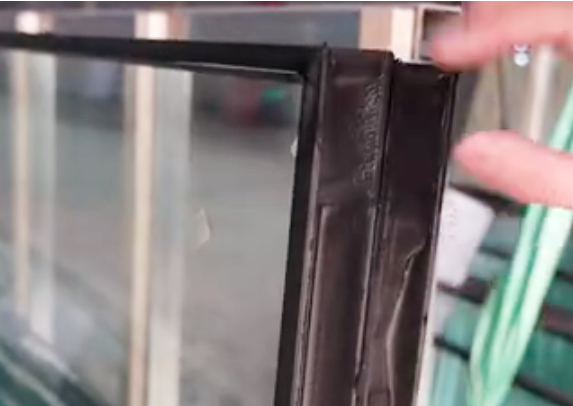
Figure 10 The sealed insulating glass in an upright position
2. Processing of composite strip-type insulating glass
This processing technology is relatively simple. The application of composite strips saves the processing of spacer strips and other steps and has a wide range of applications. However, the sealing and durability of the insulating glass produced are relatively poor, so it is not suitable for curtain walls and is mostly used for civilian use. Scenes such as windows or sliding doors.
Specific steps
The specific steps include removing the film from the glass, cleaning it, cutting the strips, installing the composite strips, cleaning the other piece of glass, joining the two pieces of glass, inflating, hot pressing, sealing, and drying.
Composite strip processing
There are two ways to install composite strips: manual installation and machine installation. The composite strips should be cut as needed before installation.
Precautions
1. When cutting: Make sure that the two adjacent sides are vertical and all at right angles to ensure the subsequent bonding effect.
2. When placing: the strips should be kept straight and straight, and the corners should be 90 degrees. The starting end of the strip should be 1.5~2mm away from the edge of the glass and should be evenly aligned with the edge of the glass to avoid wrinkles or distortions.
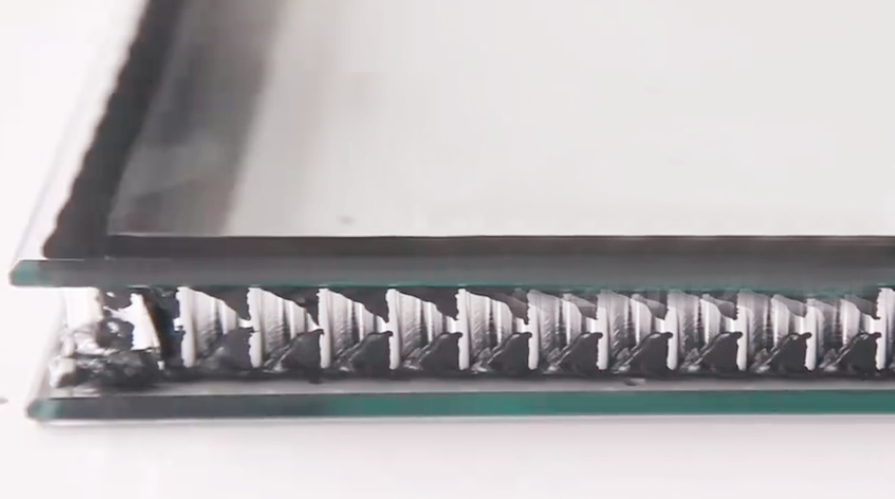
Figure 11 The composite spacer strips processing
3. During operation: Operators must wear clean, oil-free gloves to keep the glass surface clean and free of any stains and residues. During the process, it is forbidden to touch the inner surface of the glass and the bonding surface of the tape and check whether the edge of the tape is straight and straight and whether the corners are 90 degrees.
Hot pressing
Different from cold pressing during the processing of grooved aluminum insulating glass, the purpose of hot pressing is to melt the composite strips and bond the two pieces of glass together better, while also eliminating internal bubbles and residues.
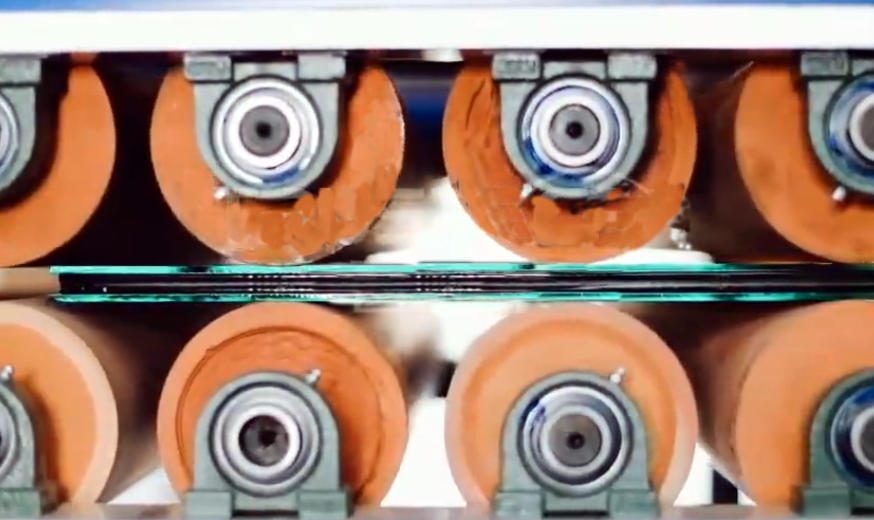
Figure 12 The composite spacer strips insulating glass hot pressing
Precautions
1. When hot pressing, the tape should be pressed as low as possible, so that the contact surface between the tape and the glass "does not leak and the tape does not fall". A small opening should be reserved to allow the dried gas to escape from the small opening.
2. After hot pressing, the temperature of the rubber strip should be measured, which is preferably 43℃~50℃. If the temperature is too high, the negative pressure inside the insulating glass may be too large, causing the glass to burst or leak and deform; while the temperature is too low, it may cause poor bonding.
3. After completion, carefully check the sealing quality to ensure that the strip is flat, firm, and has no bubbles or gaps.
3. Processing of super spacer strips
With the development of technology, new super-spacer processing technology has emerged. Compared with traditional aluminum spacers, the processing technology of super spacers is simpler. The main steps include preparing the original glass sheet (including washing, film removal, etc.), processing the super spacers, sealing and laminating, pressing, and curing and testing.
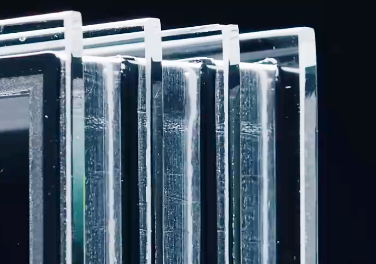
Figure 13 The super spacer strips processing
Since it contains 40% molecular sieve and has been coated with acrylic structural adhesive on both sides, there is no need for hot pressing during processing and only a tablet press is needed, thus greatly saving material and labor costs. At present, developed countries such as Europe and the United States have widely adopted super-spacer technology. As some developing countries gradually increase their requirements for building energy conservation, this technology will also be more widely used and promoted.
4. Insulating glass quality inspection standards
The relevant provisions in the quality inspection standard "Insulated Glass" are as follows:
1. Sealing layer thickness
When the moisture permeability of the outer sealant of the insulating glass is ≤15g/m2.h.mm, its thickness should not be less than 7mm;
When the moisture permeability of the outer sealant of the insulating glass is >15g/m2.h.mm, or when it is inflated insulating glass, its thickness should not be less than 9mm;
The thickness of the adhesive layer of the composite sealing strip is 8mm±2mm. Products with special specifications or special requirements shall be agreed upon by both parties.
2. Appearance quality
The sealant should be even and neat, the inner sealant should be continuous without breaks and fully bonded to the glass, and the outer sealant should have no bubbles and should not exceed the edge of the glass.
The inner surface of the glass should be free of stains and sealant runoff that would impede perspective.
The spacer material is perpendicular to the glass, straight and without distortion, the surface is smooth and smooth, without scratches, the pores are uniform and neat; there are no stains, spots, or flaky oxidation on the surface.
3. Dew point
The dew point of insulating glass products should be lower than the indoor temperature to ensure good thermal insulation performance. The specific dew point temperature should comply with the standard and should not be higher than -40°C.
For more information about insulating glass processing equipment and insulating glass processing accessories, please click here to learn more.